Lighting in food photography isn’t just about making sure everything is visible—it’s about sculpting light to enhance texture, color, and mood. As a professional food photographer, I’ve come to appreciate how great lighting can elevate a dish from simply appetizing to absolutely irresistible. In this guide, I’ll share lighting techniques that will help you bring out the flavor and soul of your culinary creations.
1. Understanding Natural vs. Artificial Lighting
Natural Lighting
Natural light is the most accessible and often the most flattering for food. Soft and diffused daylight, especially during the golden hour (just after sunrise or before sunset), adds warmth and authenticity. It enhances the food’s true colors and creates an inviting, organic look.
Artificial Lighting
When natural light isn’t consistent or available, artificial lighting becomes essential. Tools like LED panels, softboxes, and flash units provide control over light intensity, direction, and color temperature. A good artificial setup can mimic natural daylight and allow flexibility during shoots.
2. The Art of Directional Lighting
Side Lighting
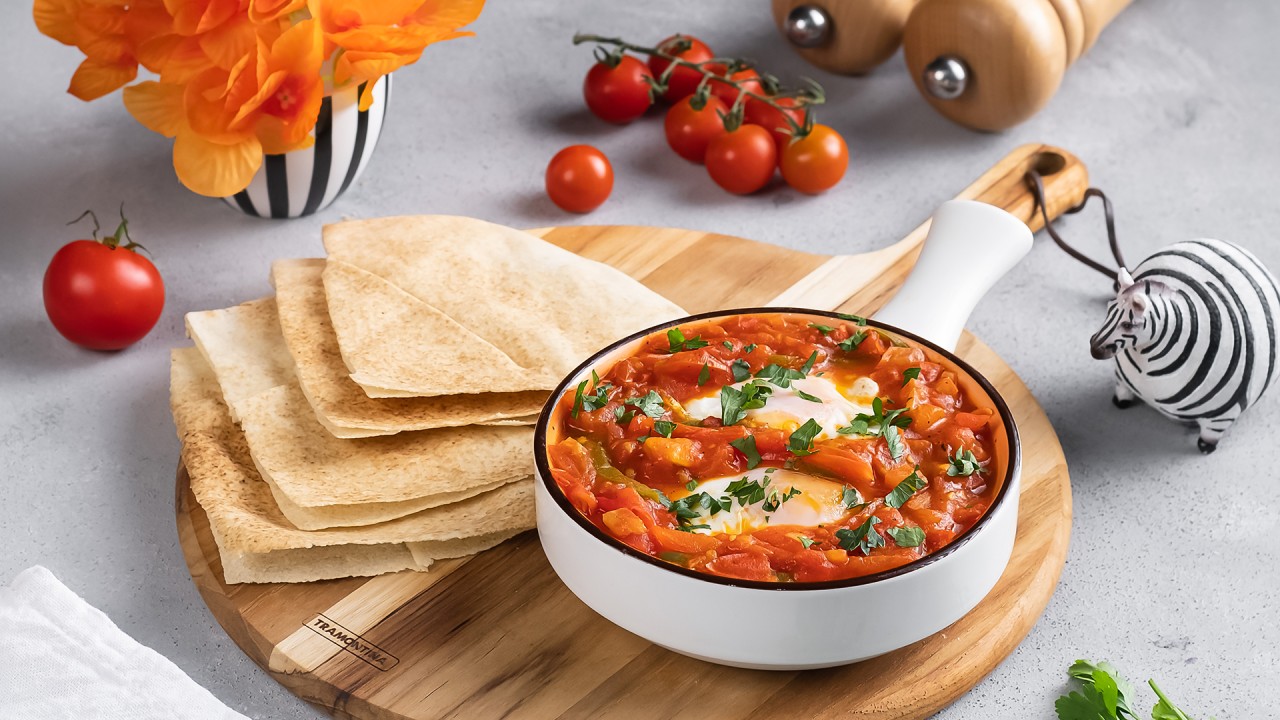
Lighting the subject from the side is a classic technique in styled food photography. It brings out textures and depth, especially in layered dishes like cakes, sandwiches, or pasta. Side light creates contrast and dimension, making the food appear more dynamic and delicious.
Back Lighting
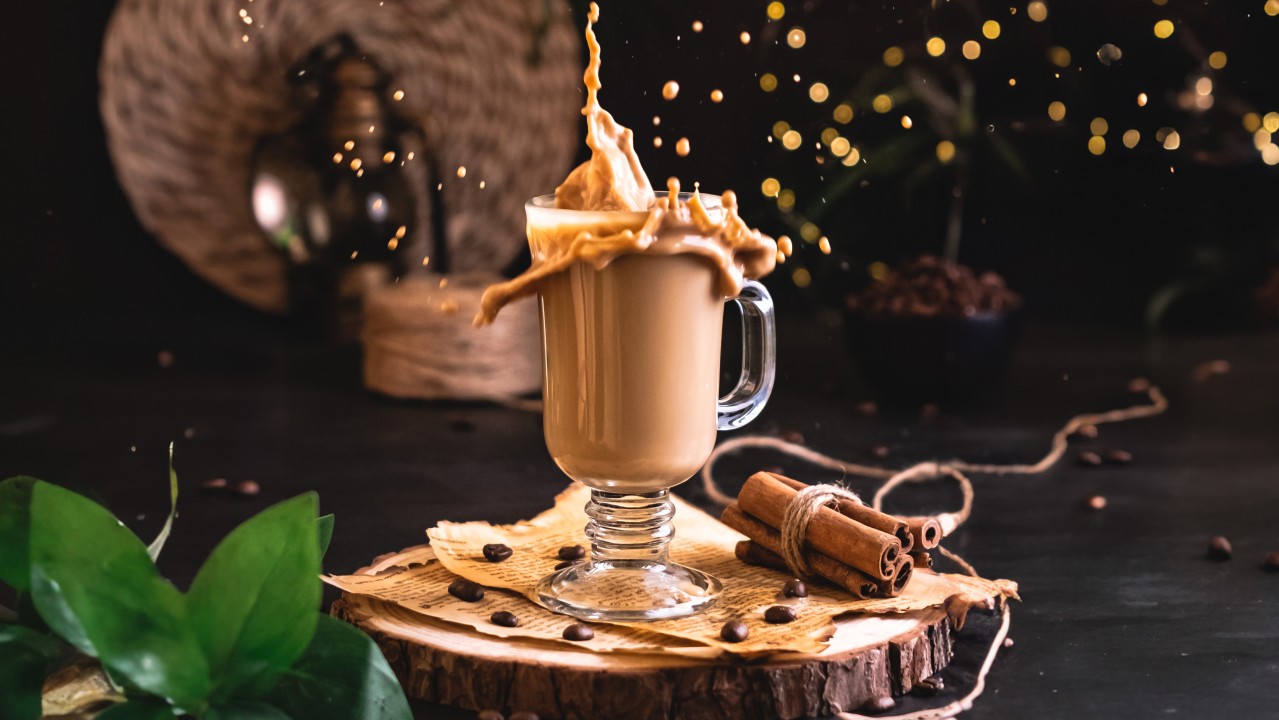
Backlighting works beautifully for drinks, soups, and foods with translucency. It creates a glowing rim and highlights edges, adding lightness and delicacy. It also gives a soft halo that’s often used in beverage photography and for dishes with steam or shine.
Front Lighting
Although less common in food photography, front lighting can be effective in removing shadows. It’s helpful in flat lay shots where even light distribution is desired. Use it carefully, as it may reduce the depth and dimension of the dish.
3. Diffusion and Reflection
Diffusers
Harsh lighting can create distracting shadows and blown-out highlights. Diffusers soften light, providing an even and gentle look. A white curtain, tracing paper, or a professional softbox can serve as a great diffuser—especially when working with sunlight or flash.
Reflectors
Reflectors bounce light back onto the food, filling in deep shadows. Even a simple white foam board or a piece of silver card can work as a reflector. They help in maintaining balance and are essential tools in both natural and artificial food photography lighting setups.
4. Color Temperature and White Balance
Color Temperature
Every light source has a color temperature. Morning light is often cooler (bluish), while evening light is warmer (orange). Understanding this helps in choosing the right lighting based on the mood you want—cool and fresh or warm and comforting.
White Balance
Setting the correct white balance in your camera ensures that whites appear white, and colors are true to life. Adjust this in-camera or in post-processing to maintain color accuracy, especially when mixing light sources.
5. Experimentation and Practice
Trial and Error
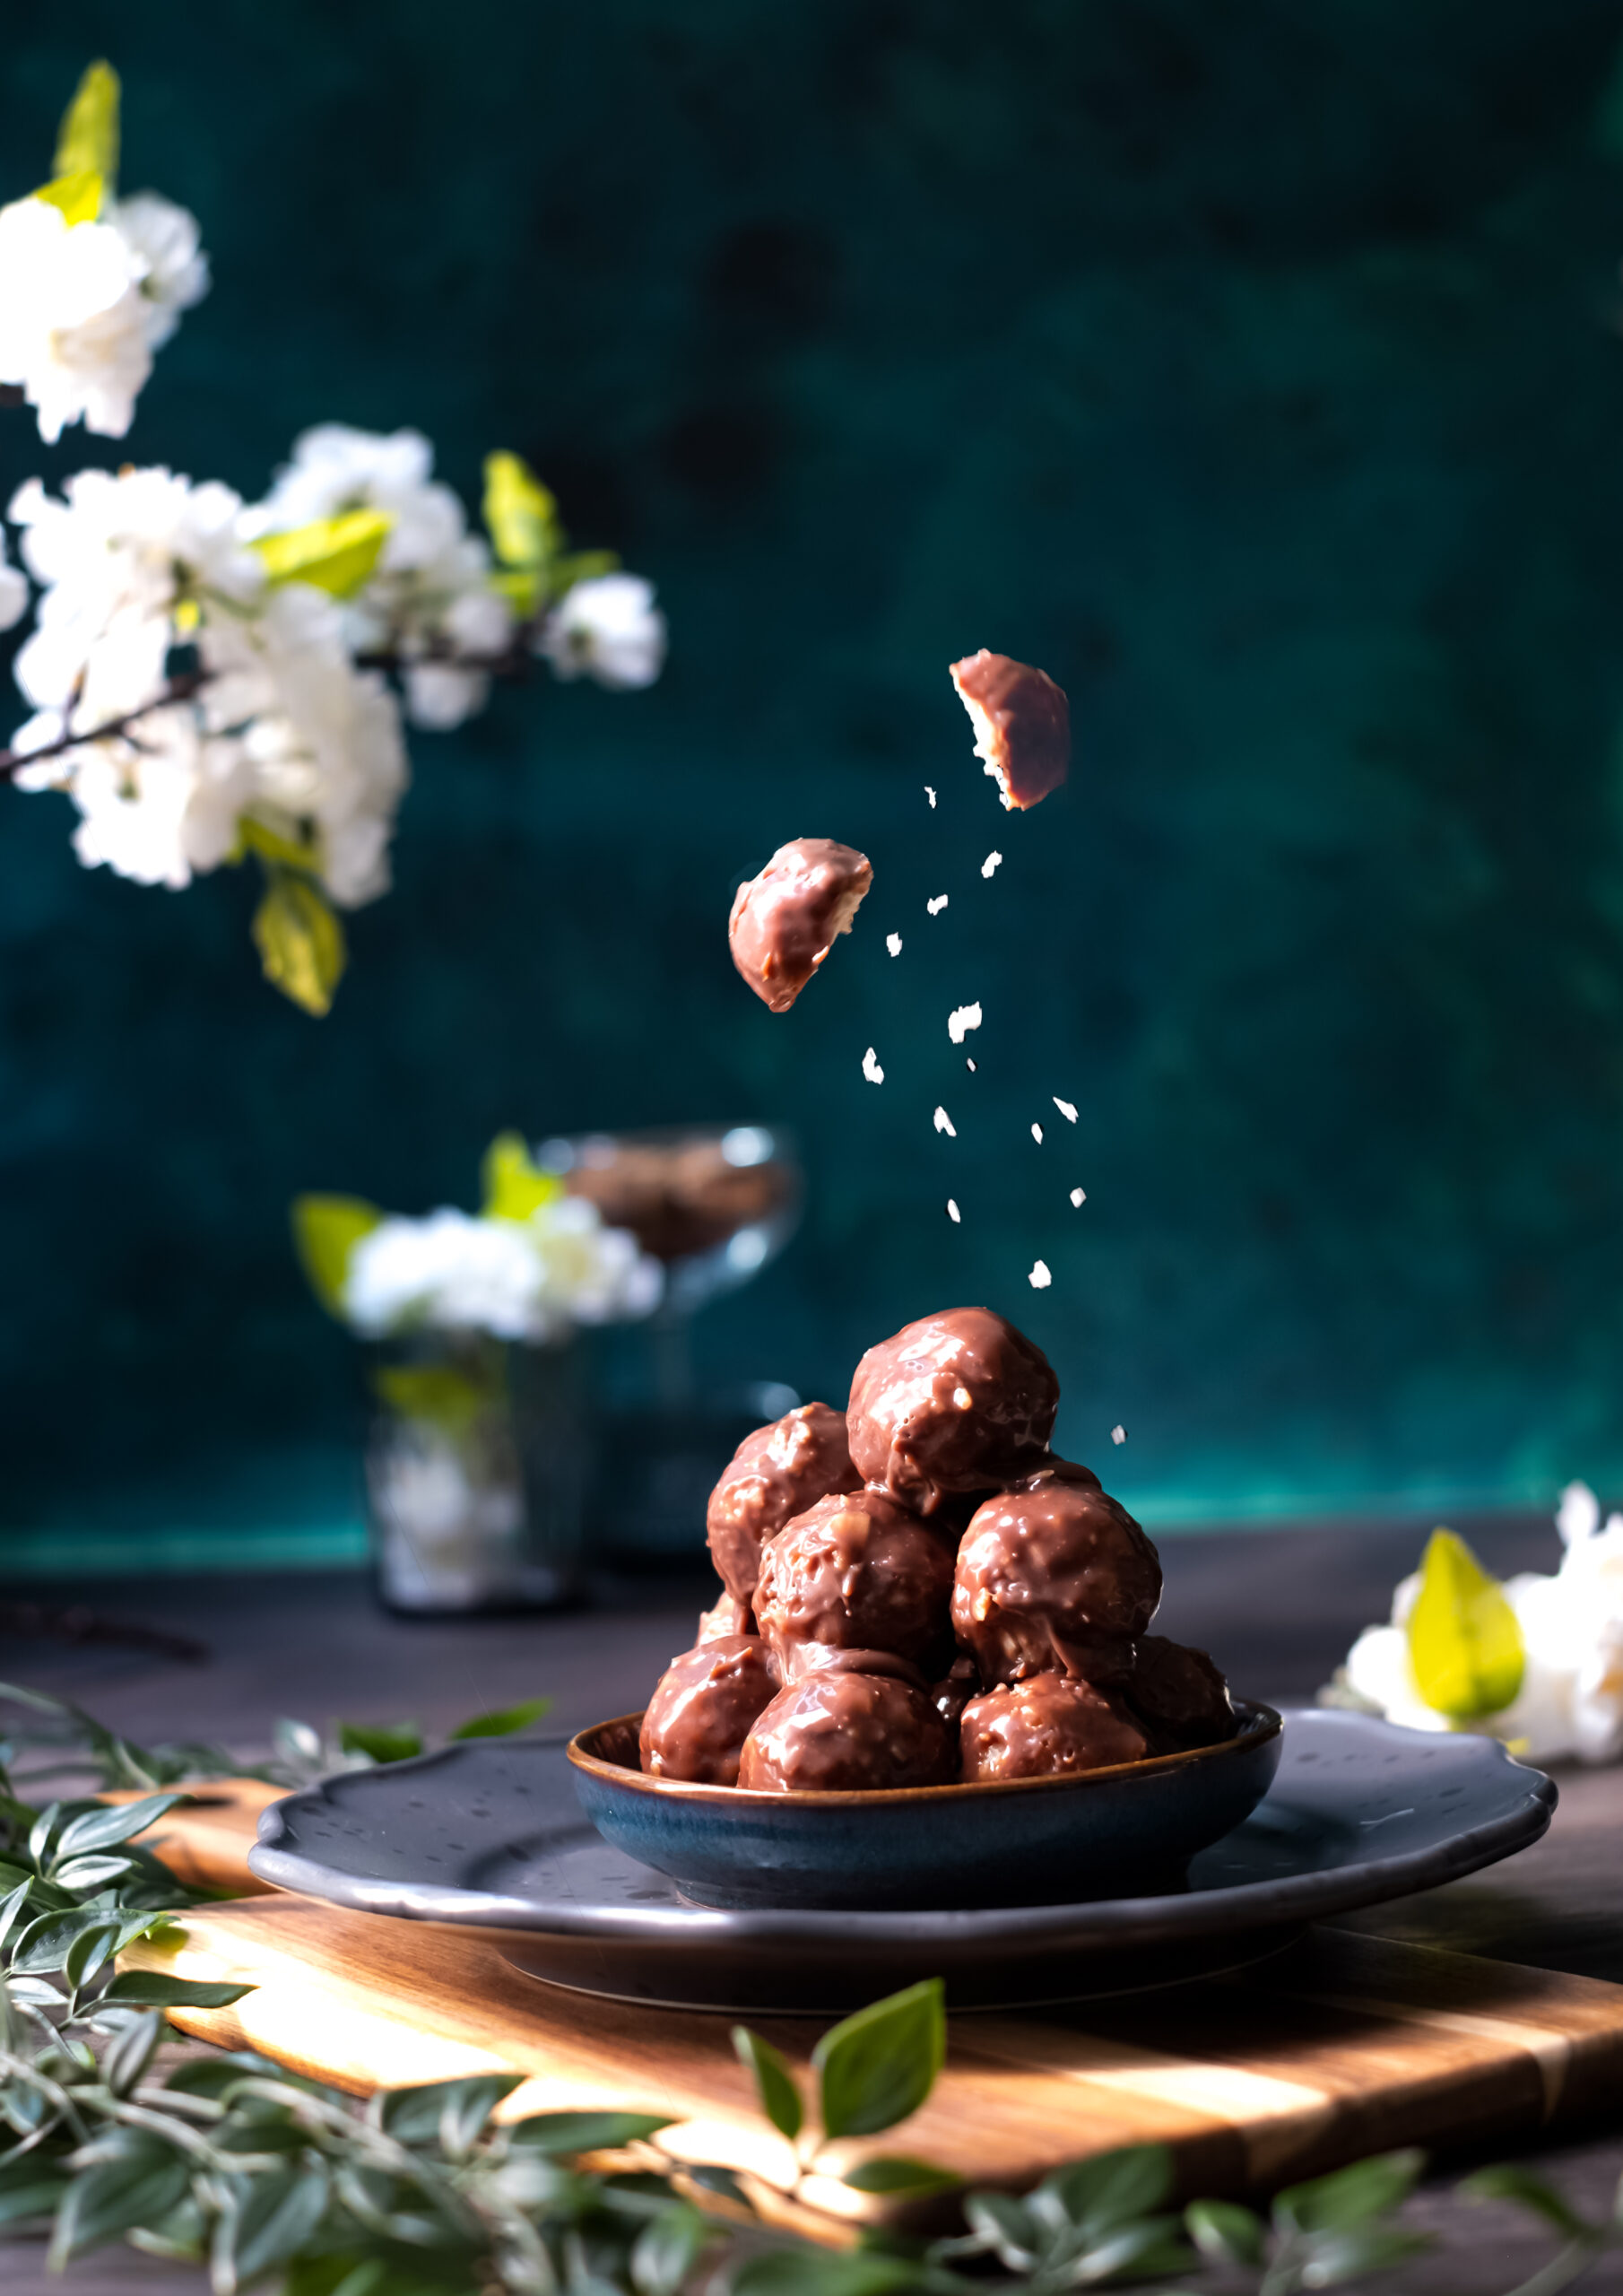
Each dish reacts differently to lighting. A rich curry may shine under side lighting, while a delicate dessert benefits from soft, diffused backlight. Don’t be afraid to try various angles and modifiers to see what brings your subject to life.
Consistent Practice
Mastery comes through repetition. The more you experiment with light, the more you’ll understand how it behaves. Over time, you’ll instinctively know how to position your lighting to achieve a desired mood or texture.
Conclusion
Lighting is one of the most powerful tools in a food photographer’s toolkit. It doesn’t just reveal what a dish looks like—it tells us how it feels, how it might taste, and what emotion it holds. Whether you’re chasing the soft glow of natural daylight or sculpting dramatic shadows with artificial setups, each decision you make with light adds a layer of storytelling to your frame.
As you continue your journey in food photography, remember that light isn’t just technical—it’s expressive. So experiment freely, practice often, and let the flavors of your visuals shine.
Illuminating Flavor: Mastering Lighting Techniques in Food Photography
Lighting in food photography isn’t just about making sure everything is visible—it’s about sculpting light to enhance texture, color, and mood. As a professional food photographer, I’ve come to appreciate how great lighting can elevate a dish from simply appetizing to absolutely irresistible. In this guide, I’ll share lighting techniques that will help you bring out the flavor and soul of your culinary creations.
1. Understanding Natural vs. Artificial Lighting
Natural Lighting
Natural light is the most accessible and often the most flattering for food. Soft and diffused daylight, especially during the golden hour (just after sunrise or before sunset), adds warmth and authenticity. It enhances the food’s true colors and creates an inviting, organic look.
Artificial Lighting
When natural light isn’t consistent or available, artificial lighting becomes essential. Tools like LED panels, softboxes, and flash units provide control over light intensity, direction, and color temperature. A good artificial setup can mimic natural daylight and allow flexibility during shoots.
2. The Art of Directional Lighting
Side Lighting
Lighting the subject from the side is a classic technique in styled food photography. It brings out textures and depth, especially in layered dishes like cakes, sandwiches, or pasta. Side light creates contrast and dimension, making the food appear more dynamic and delicious.
Back Lighting
Backlighting works beautifully for drinks, soups, and foods with translucency. It creates a glowing rim and highlights edges, adding lightness and delicacy. It also gives a soft halo that’s often used in beverage photography and for dishes with steam or shine.
Front Lighting
Although less common in food photography, front lighting can be effective in removing shadows. It’s helpful in flat lay shots where even light distribution is desired. Use it carefully, as it may reduce the depth and dimension of the dish.
3. Diffusion and Reflection
Diffusers
Harsh lighting can create distracting shadows and blown-out highlights. Diffusers soften light, providing an even and gentle look. A white curtain, tracing paper, or a professional softbox can serve as a great diffuser—especially when working with sunlight or flash.
Reflectors
Reflectors bounce light back onto the food, filling in deep shadows. Even a simple white foam board or a piece of silver card can work as a reflector. They help in maintaining balance and are essential tools in both natural and artificial food photography lighting setups.
4. Color Temperature and White Balance
Color Temperature
Every light source has a color temperature. Morning light is often cooler (bluish), while evening light is warmer (orange). Understanding this helps in choosing the right lighting based on the mood you want—cool and fresh or warm and comforting.
White Balance
Setting the correct white balance in your camera ensures that whites appear white, and colors are true to life. Adjust this in-camera or in post-processing to maintain color accuracy, especially when mixing light sources.
5. Experimentation and Practice
Trial and Error
Each dish reacts differently to lighting. A rich curry may shine under side lighting, while a delicate dessert benefits from soft, diffused backlight. Don’t be afraid to try various angles and modifiers to see what brings your subject to life.
Consistent Practice
Mastery comes through repetition. The more you experiment with light, the more you’ll understand how it behaves. Over time, you’ll instinctively know how to position your lighting to achieve a desired mood or texture.
Conclusion
Lighting is one of the most powerful tools in a food photographer’s toolkit. It doesn’t just reveal what a dish looks like—it tells us how it feels, how it might taste, and what emotion it holds. Whether you’re chasing the soft glow of natural daylight or sculpting dramatic shadows with artificial setups, each decision you make with light adds a layer of storytelling to your frame.
As you continue your journey in food photography, remember that light isn’t just technical—it’s expressive. So experiment freely, practice often, and let the flavors of your visuals shine.